TUTORIAL
Step one: Face
 |
| Prime+ Liquid Foundation+Concealer |
 |
| Contour + Highlight |
Step two: Eyes
 |
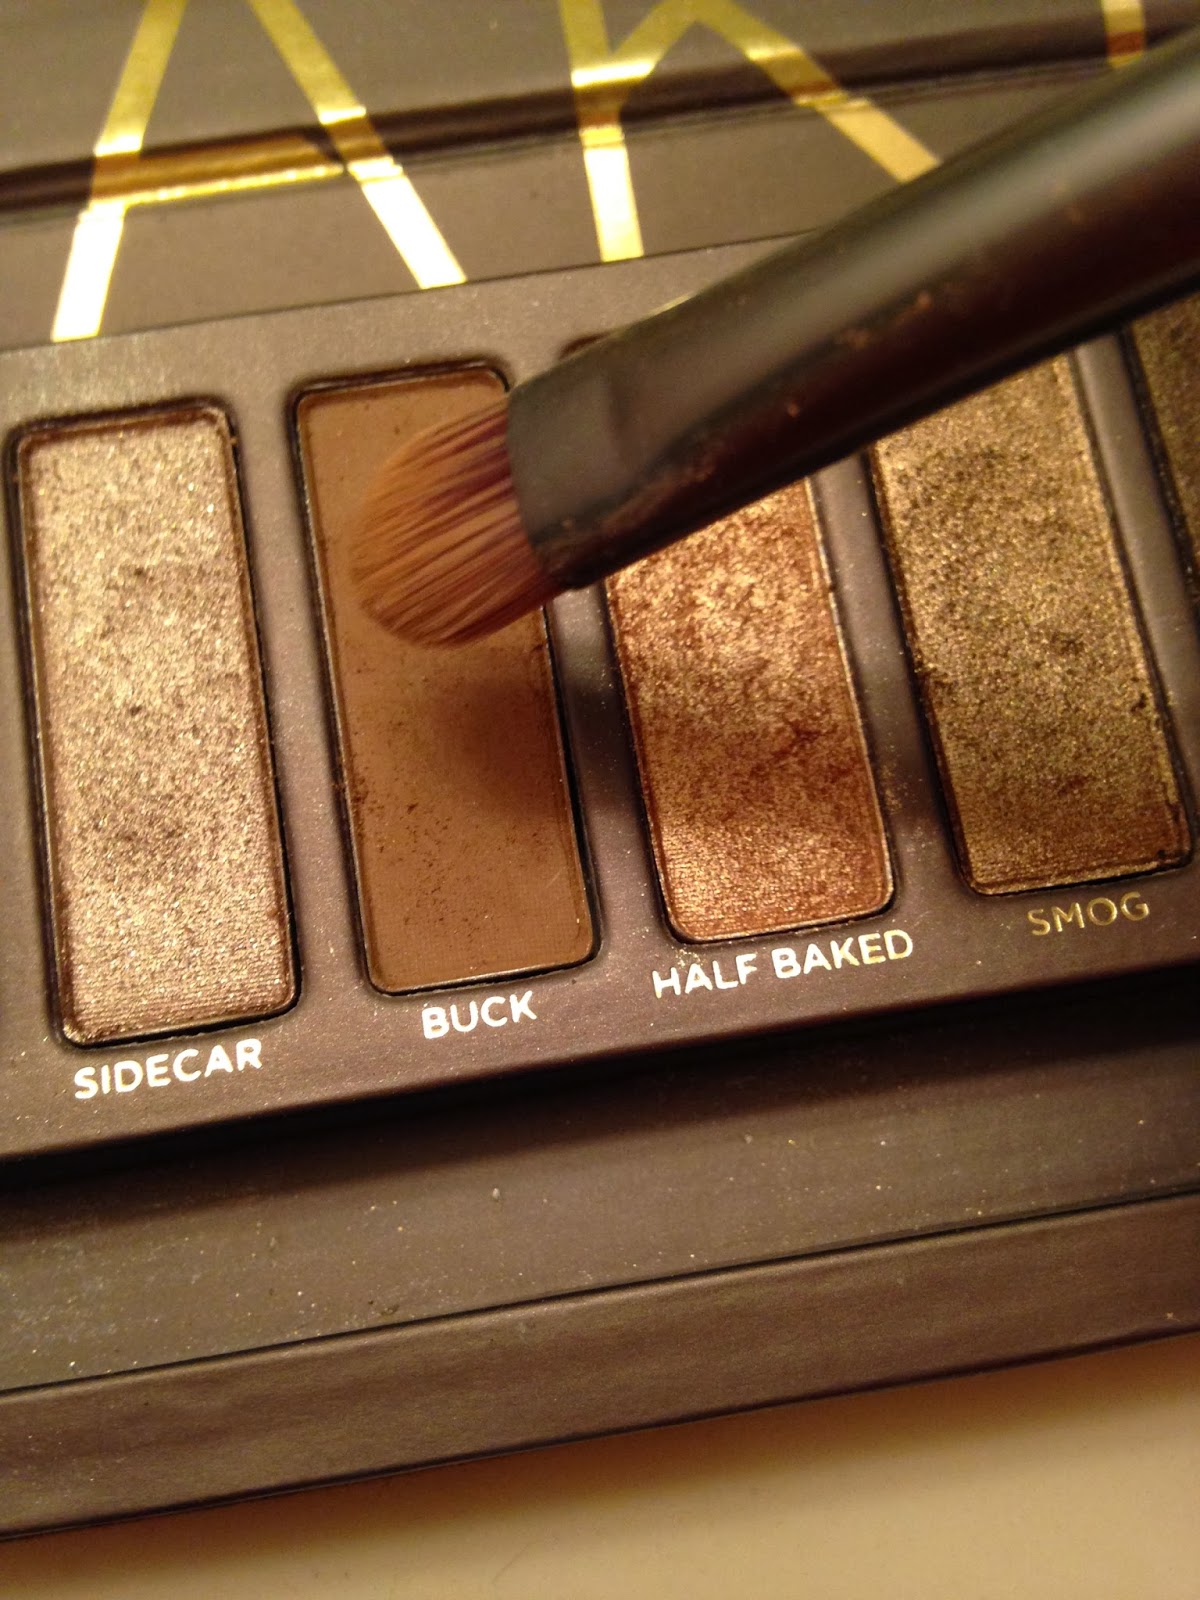
| A) Eyeshadow: |

~Strange as brow highlight
~Limit in crease and outer V (not precise)
~Dust on middle of lid (not on inner or outer corners)

~Nooner in crease (precise- do not go above crease)
~Darkside small outer V
 |
| B) Winged Eyeliner |
 |
| C) Curl lashes |
 |
| D) Mascara |
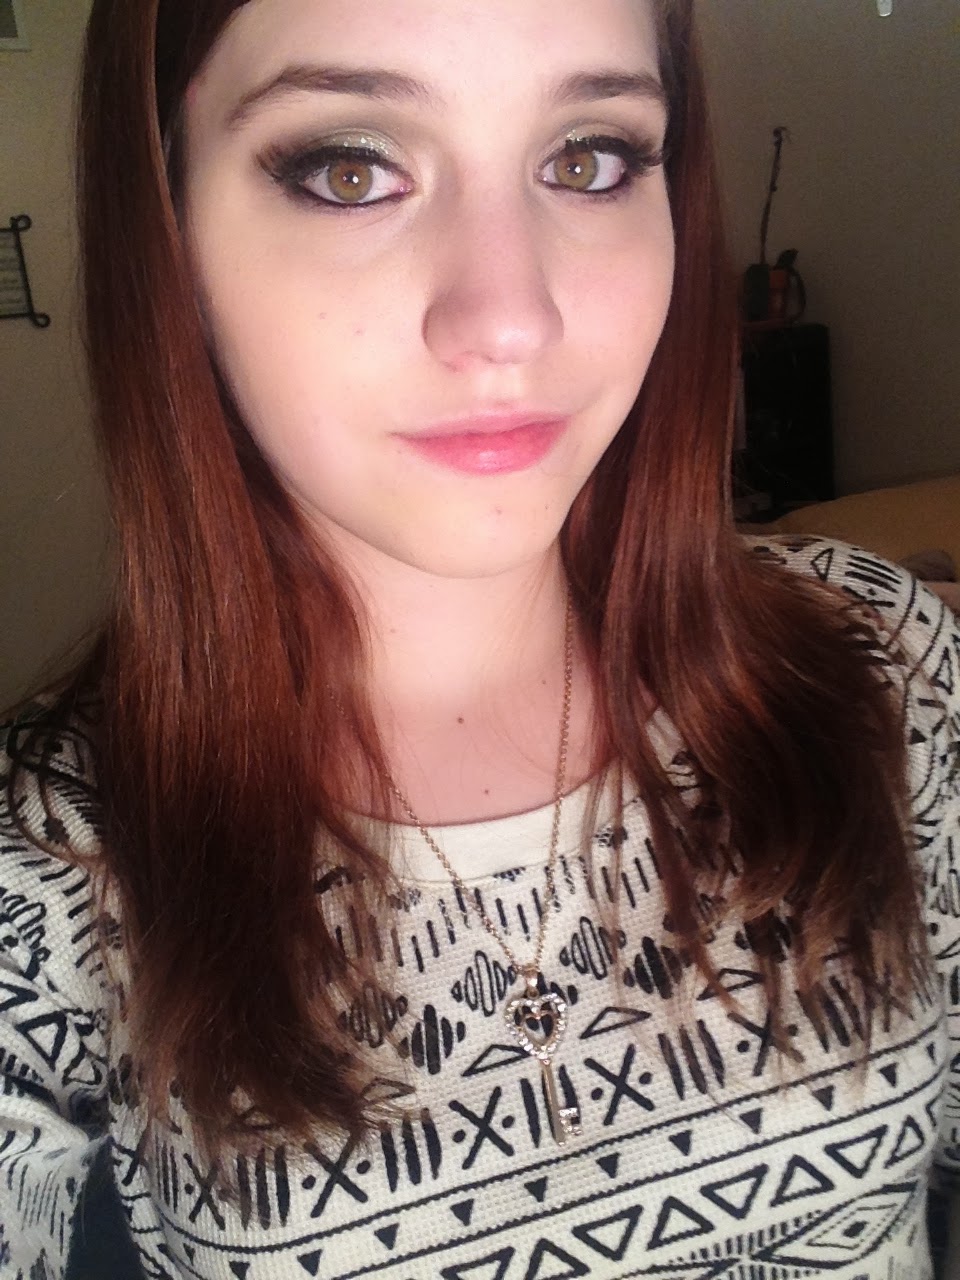
Step Three: Bring together your look!
~Add nude lipstick
~Pink blush (whichever shade you choose, preferably light)
~Natural hair
~Wear a white sweater with black accents to go with your eyeliner


Some of the products I used:
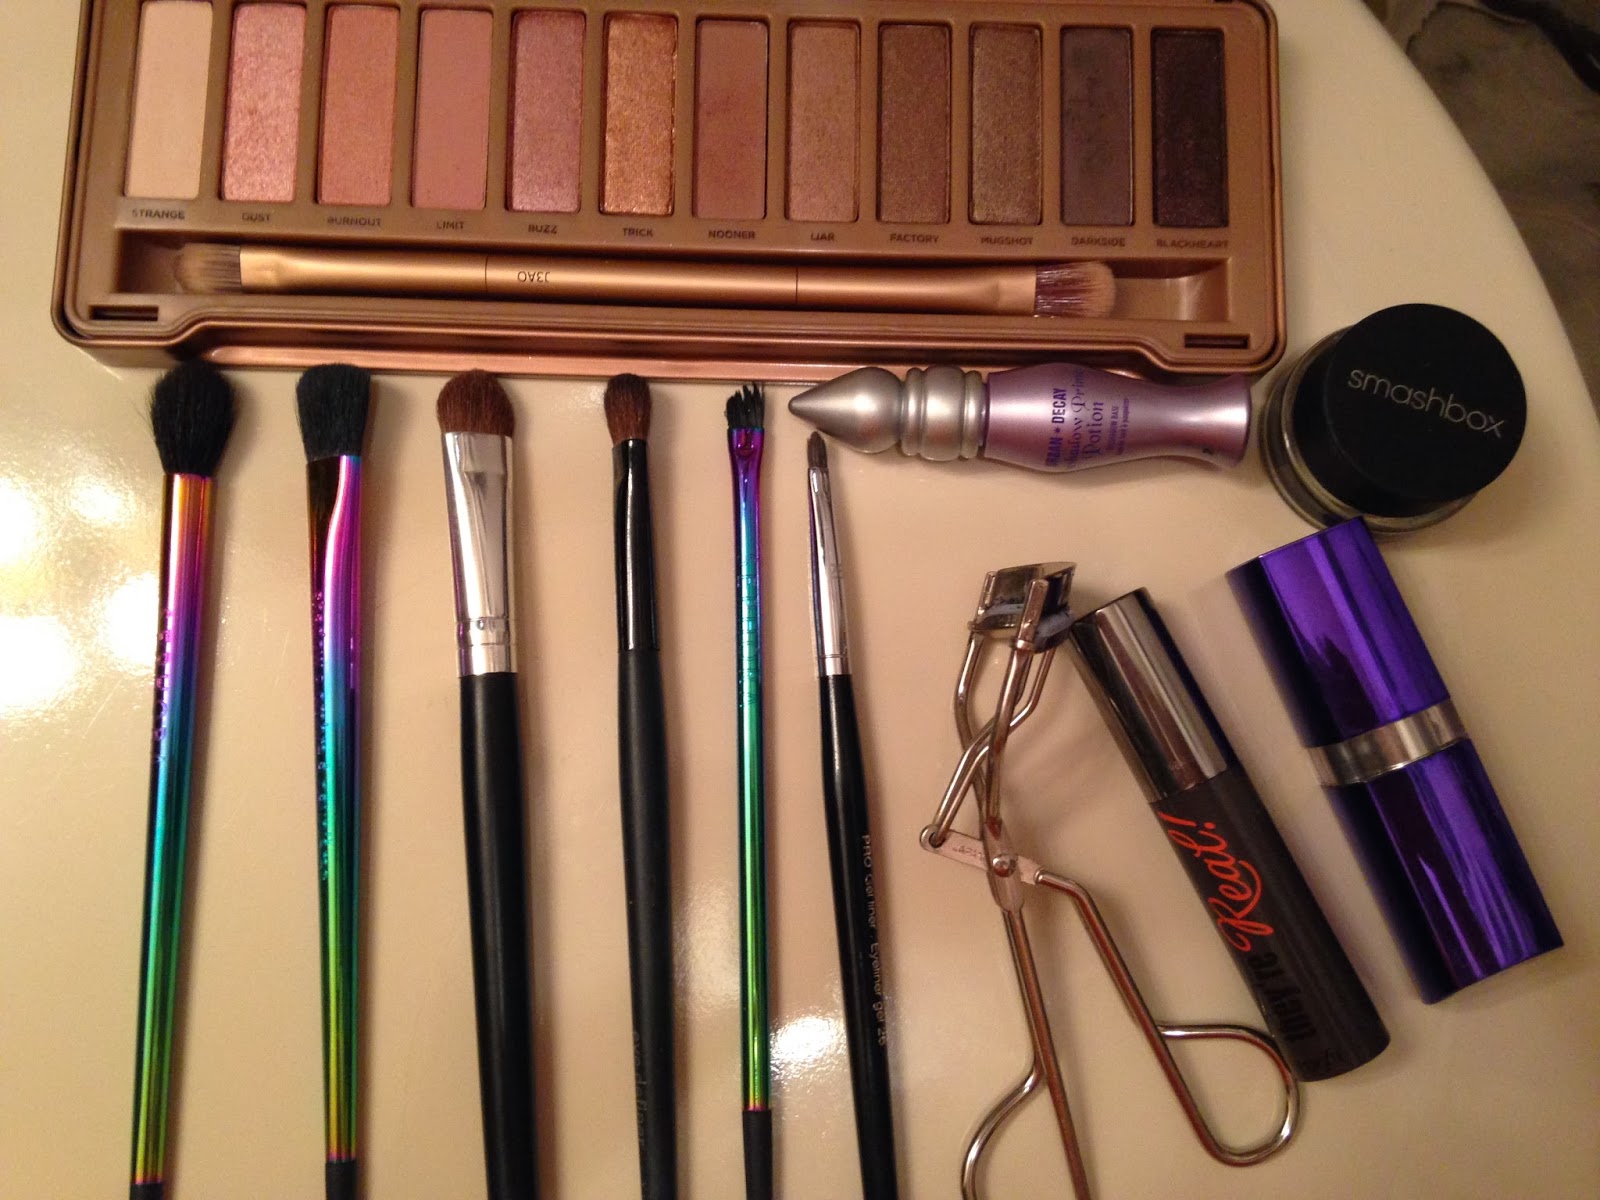
-Naked 3 Palette
-Urban Decay Primer Potion
-Sephora brushes
-Tweezerman Eyelasher curler
-Benefit They're Real Mascara
- Rimmel Moisture Renew 642 Nude Delight
-Smashbox Jet Set Gel Eyeliner Deep Black
Not shown:
-MAC Pro Longwear Liquid Foundation
-Too Faced Candlelight Glow Highlighter
-Concealer (not sure the name/brand sorry!)
-Pixi Bronzer Subtly Suntouched