Search This Blog

Showing posts with label makeup. Show all posts

Saturday, April 12, 2014

Sunny Spring Break Look!

With spring break at its start, I thought it would be the perfect time to create a look that fit the feel of warm days and sunshine! It's a fairly easy look, and it is great for hanging out with friends, going shopping, or for vacation.. Let's get started (:

1. First off, you are going to apply a layer of your favorite liquid foundation & blend it in. To do this nicely, you can use a Flat Top Kabuki brush or a Beauty Blender. Start by placing a small nickel sized amount of foundation on your hand, and place little dabs over the areas of your face that you want to perfect. If using a brush, blend with small circles, and if using a Beauty Blender, lightly dab the foundation in! (L'Oreal True Match Lumi)


2. Using a fluffy blush brush, gently swipe a very light amount of coral blush to the apples of your cheeks, along your cheekbones, all the way up to your temple. This makes the color look more natural on your face! (MAC "Peaches"). Next, brush on a bit of cheek highlighter to brighten the look. (Too Faced Candlelight Glow).


 3. Eyeshadow


Pat a shimmery golden yellow all over your eyelid, but stop at the crease

Blend in a coral orange color a little over the yellow and into the crease, just under the brow bone

Finally, apply a slightly darker color, such as "Nooner" from the U.D. Naked Palette (mauve/red), onto the outer V. This creates the look of a sunset, getting gradually yellow to red.

Optional- Curl lashes and apply black mascara
 4. Added touch (:
 L'Oreal Color Riche Lipstick in 254 "Everbloom" (gorgeeeouss watermelon color!! LOVEE!)  I highly suggest getting this color because it is perfect for spring!


And here is the final look!!


Have fun on spring break everyone, and enjoy the weather!
I will see everyone soon; Next monday we are leaving to go to Florida for a week so I will try to post when I come back.. As for now, let me know in the comments some suggestions/comments/questions!
Friends & Fam: If you need someone to do your makeup for pretty much any occasion, I am available as well!
Thank you!

Sunday, February 23, 2014

Eyebrow Threading

Before: 
 After:
    

   As I was walking through the mall with my sister and mom looking for tights for our NHS induction, I suddenly thought that maybe I should get my eyebrows threaded at a little salon. I had gotten them threaded years before, but I figured I might as well give it a try. I am really happy as to how they came out!

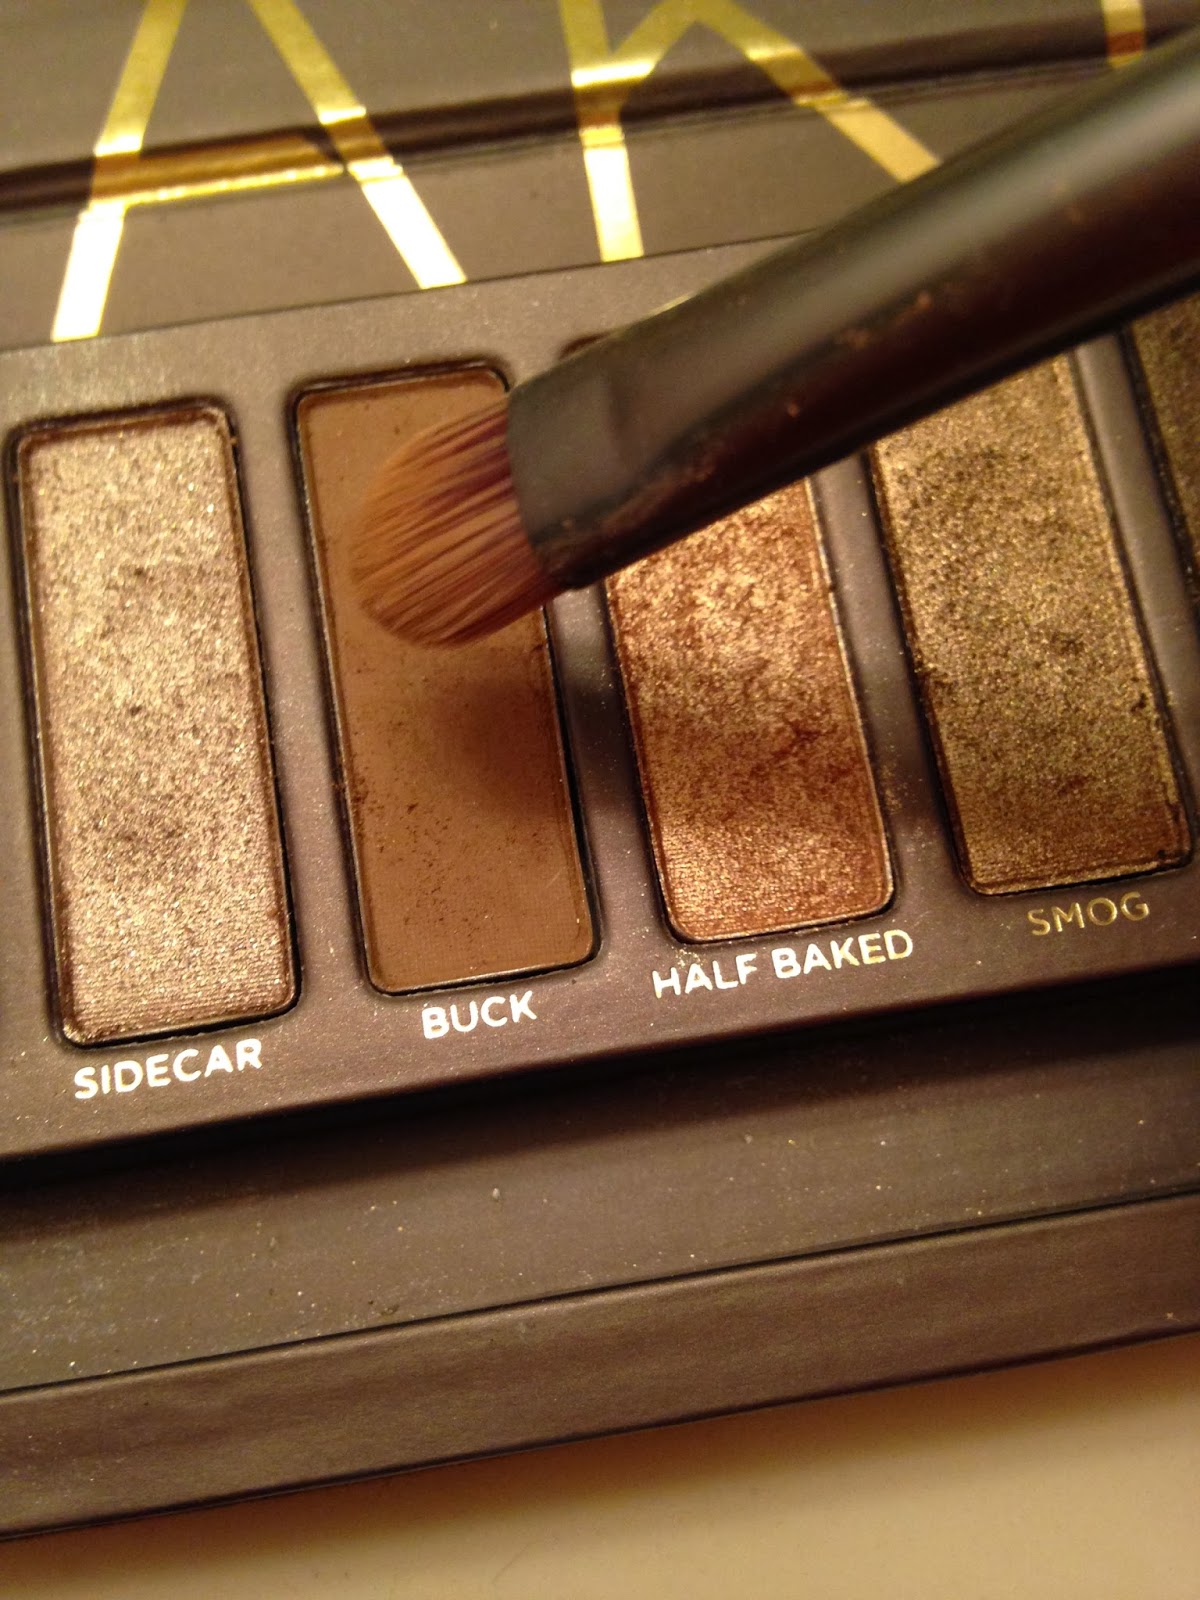
 ( For the sake of this blog, let me just explain to you my norm (aka the usual). I typically will pluck my brows here and there, but I also use a little electric razor to swipe off a bunch at once. Then, I will brush my brows so the hair will stay in the same direction, and I will sometimes fill them in using "Buck" from the Naked Palette. I don't do much!) 

Ok back to the story!!

   So after I talked with my sister, my mom agreed to pay for us to have it done (not sure of. We walked in, and the girl seated us immediately. I sat down in a comfy chair that was leaned back, and the young lady started to trim my brows with little scissors. Then, she told me to hold down each of eyes at a time, and it barely took two minutes!! It did sting a bit, but it was a bearable pinch unlike waxing! I admit I have never had my brows waxed, but I would assume this is much less painful! It was quick, and the girl was very friendly! She even cleaned them off with Witch Hazel to help diminish the sting, and she put powder on them for me. I was surprised when I looked in the little hand mirror at how precise the threading was, and I was glad that I decided to get them done! My brows now look so much better than they did before, and it really brings a look together. The little pinches were definitely worth it :)

As they say, "No Pain No Gain" right?!


**Check out this video "Eyebrow Threading NBC 10 Special"
http://www.youtube.com/watch?v=EIeHYNt-rl4

* "Threading 101 (Beauty& Grooming Guru)"
http://www.youtube.com/watch?v=MYJytHke02o


Tuesday, January 21, 2014

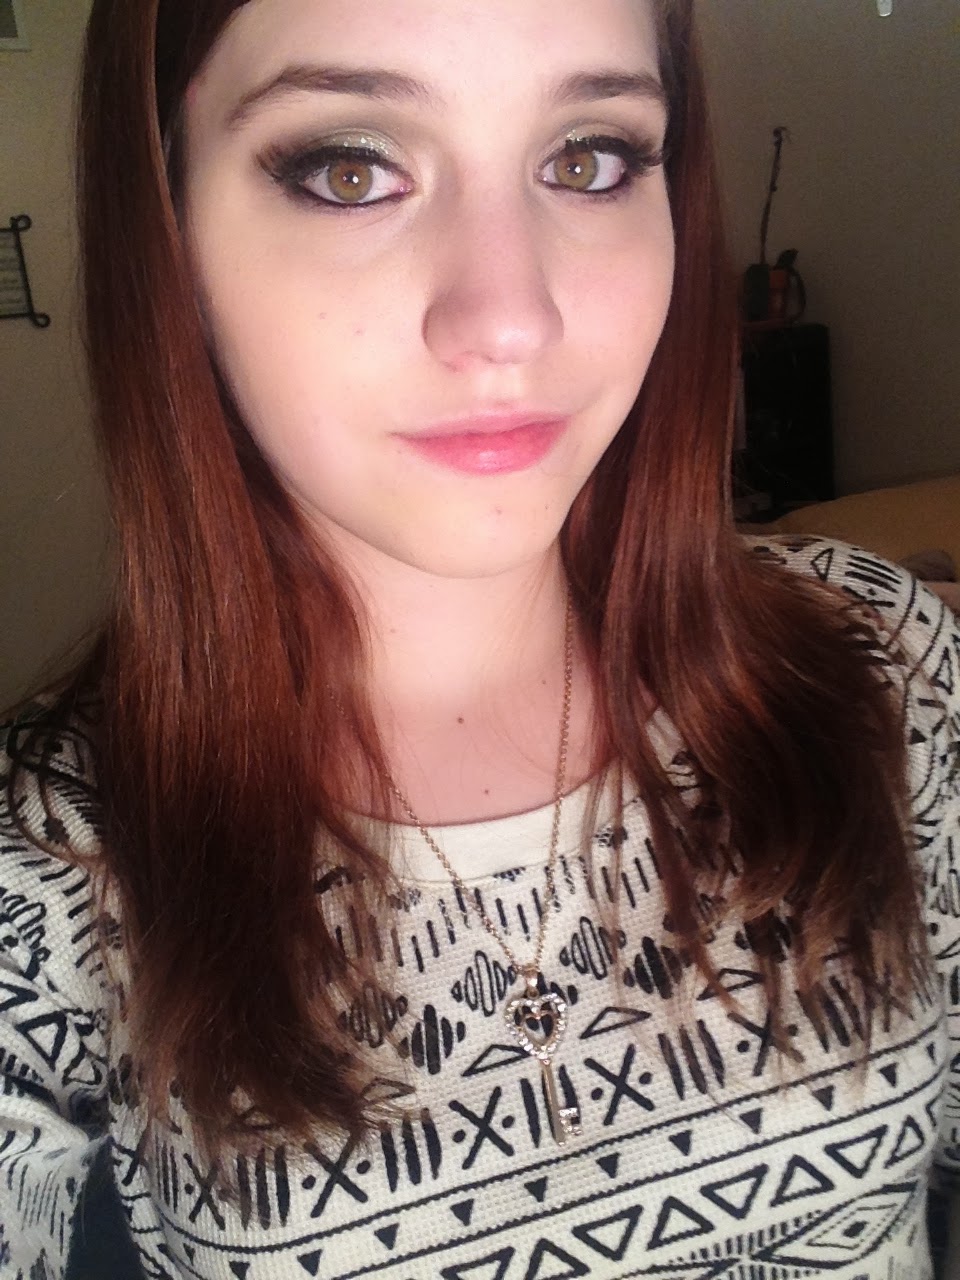
Naked 3 Rosy Hues Look


TUTORIAL

Step one: Face
Prime+ Liquid Foundation+Concealer
Contour + Highlight
Step two: Eyes
A) Eyeshadow:

~Strange as brow highlight
~Limit in crease and outer V (not precise)
~Dust on middle of lid (not on inner or outer corners)

~Nooner in crease (precise- do not go above crease)
~Darkside small outer V


B) Winged Eyeliner
C) Curl lashes 
D) Mascara

Step Three: Bring together your look!
~Add nude lipstick
~Pink blush (whichever shade you choose, preferably light)
~Natural hair
~Wear a white sweater with black accents to go with your eyeliner


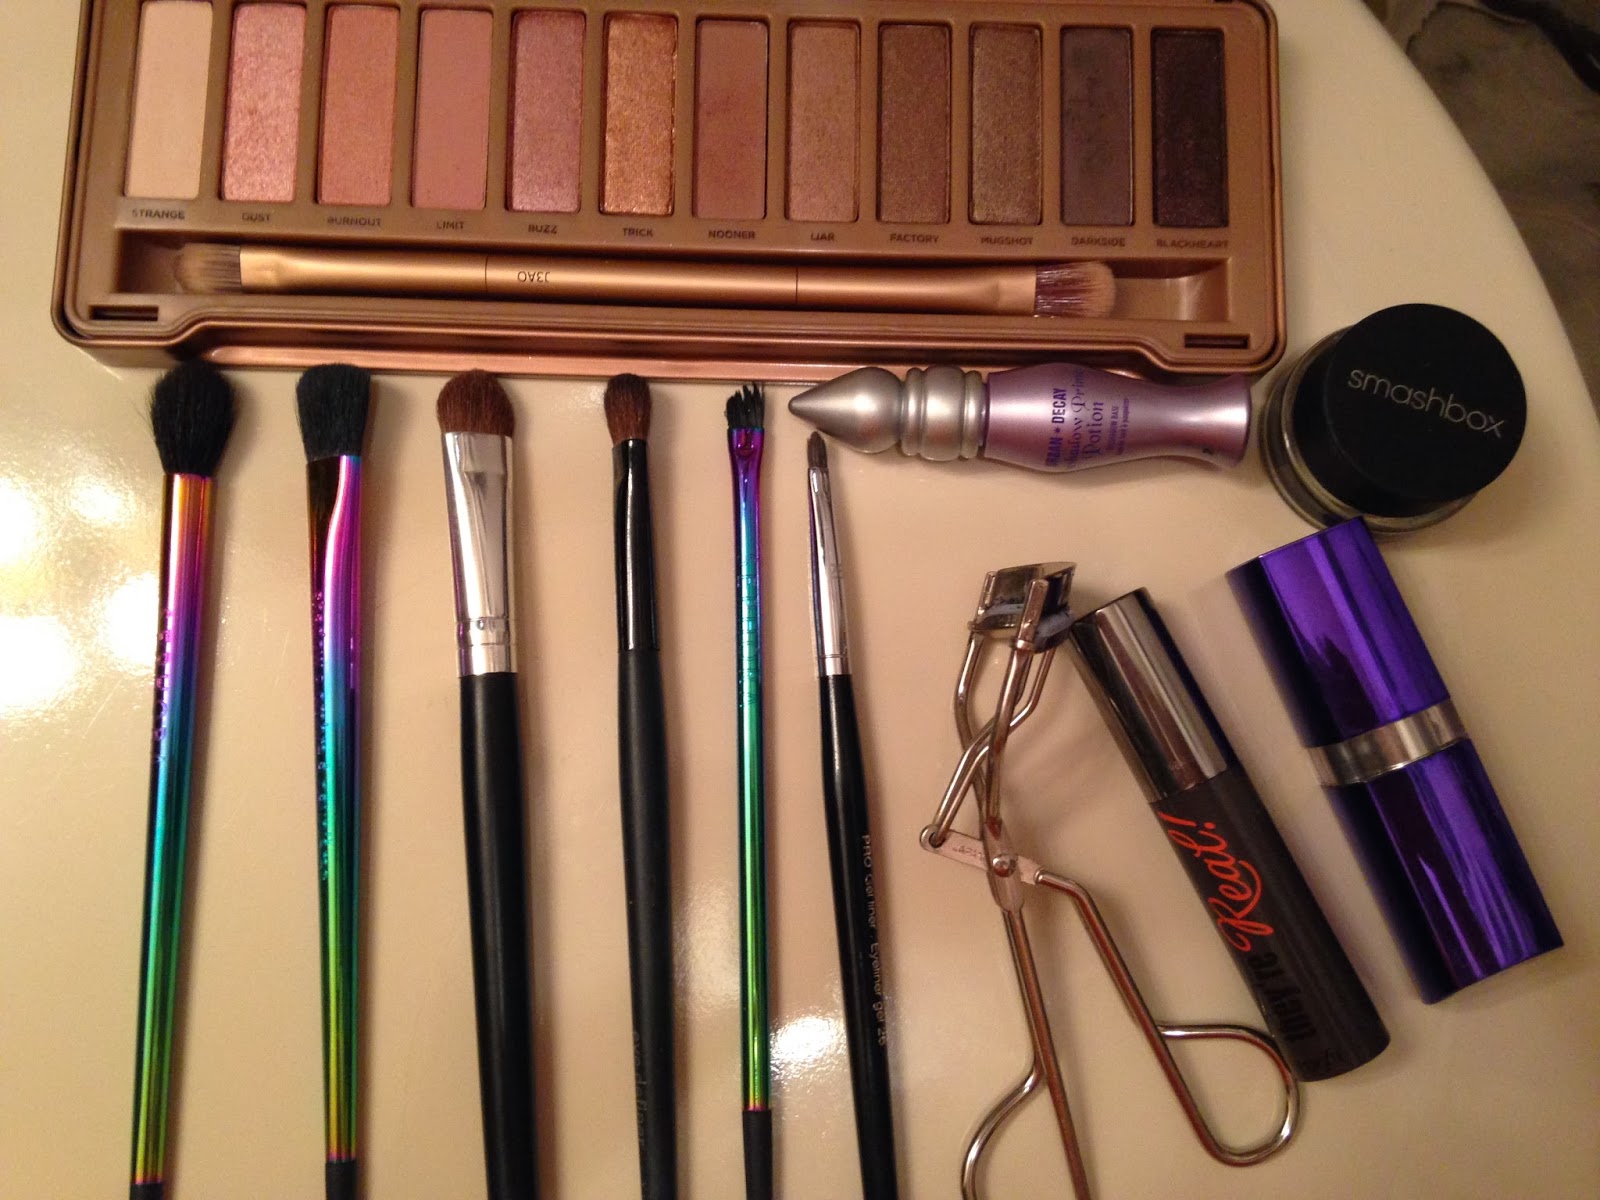
Some of the products I used:

-Naked 3 Palette
-Urban Decay Primer Potion
-Sephora brushes
-Tweezerman Eyelasher curler 
-Benefit They're Real Mascara
- Rimmel Moisture Renew 642 Nude Delight 
-Smashbox Jet Set Gel Eyeliner Deep Black

Not shown:
-MAC Pro Longwear Liquid Foundation
-Too Faced Candlelight Glow Highlighter
-Concealer (not sure the name/brand sorry!)
-Pixi Bronzer Subtly Suntouched


Friday, January 10, 2014

Madre Challenge

   As I was sitting in my room like all teenagers do, a pinterest notification popped up on my phone. I, being the pinterest lover that I am, clicked on it immediately to see what the little red 1 on my pinterest app was all about. It was a pin that my mom (also a pinterester) sent me, challenging me to do this glamorous makeup look!

Here is the original pin VS mine:


Six-step tutorial:
1. Crease: Use a bronzer as your eyeshadow- Pixi Beauty Bronzer "Subtly Suntouched"
2. Crease and outer V: Dark brown- Urban Decay Naked "Darkhorse" 
3. Lid: Silver glitter- Urban Decay Heavy Metal Glitter Eyeliner "Distorted"
4. Liquid/Gel Eyeliner on upper lid: Smashbox Jetset Eyeliner
5. Fake eyelashes: Ardell Natural Lashes "120 Demi Black"
6. Black eyeliner on bottom lid: Prestige Total Intensity Eyeliner "LWL-01 Deepest Black"

Final look:


Minus the lipstick
Straight on with Lipstick
(
NARS Velvet Matte Lip Pencil in "Dragon Girl")


"A smile is the best makeup a girl could wear"-Anonymous :)

  I know that the two looks are not exactly alike, but I tried to do it to the best of my abilities. For me, I very much enjoy doing these requests and challenges because it helps me to learn to meet the needs of others (or clients if I ever become a makeup artist), and it gives me something fun to work on! Please let me know if there are any other looks that you want me to do because I will definitely do them when I have the time. It's always a pleasure!! 

Oh, p.s. I will try to stay on track with my posts, but I will be very busy within the next week working on my 1000 word research paper due next Friday! Please bear with me!

Sunday, January 5, 2014

Check out this awesome blog!


Just wanted to share with you guys a blog page from the website I use, where you pay $10 a month for a bag of about 5 or 6 beauty products and samples.

The makeup is really nice, and they also give you discounts to buy them again!

If you are interested, there is a link under my pages for it

Makeup Challenge: Eva Simons

Guess what everyone?? I have been challenged yet again!
Here is the look that I was challenged to do. The makeup is inspired by singer, Eva Simons, who is featured in the song "Take Over Control" by Afrojack. I must say I didn't recognize the name at first when my friend, Thomas, told me about her, but after listening, I do know this song. 

You can listen to the song here: Grooveshark. (My "Oh, I've heard this!" moment is at 0:55 in the song!) 

Here is the look next to the original:


And here it is close up!!


   Personally, I actually really like this makeup for myself as it brings out the hazel in my eyes! 
I think I would surely want to do this again or wear it with some of my outfits in my wardrobe (:
The colors blend well together, and it is not too dramatic! Overall, I enjoyed doing this beauty challenge

Saturday, January 4, 2014

More Shadow, Less Makeup

   On my Facebook, I was requested to do a look that used "less makeup while making detailed eye shadowing effects" by my friend, Thomas Mikkelsen, and today I tried that out! 

   The eyeshadow product that was my main focus today was the "Bring Up Your Life Eye Shadow Trio" by POP Beauty (I got this in my $10/month Ipsy bag!). It features three "Naturally Bare" colors: a shimmery neutral, a light brown, and a dark brown as well. I also used MAC Pro Longwear Foundation, the Exact Eyelights Mascara ("Black Gold" for hazel eyes), and "Buck" from the Naked 1 Palette.


Swatches Shown Above.

   Prep your eyes by applying foundation (MAC) to cover the redness or veins on your lids, and fill in your brows lightly ("Buck"). First, put the shimmery neutral color all over your top lid. Then, put the light brown in your crease, focusing the pigment on the outer half of the crease and lid. This will create the shadow that you are looking for, even with minimal color applied. Next, use the dark brown in place of your eyeliner, and draw a line like you usually would. Here, you will create an outline for the white area of your eye. Finally, swipe a coat of your fav mascara to the upper lashes only. By doing this, your eyes will look much brighter, without having to use a ton of makeup! Now, that's an easy "Natural Smokey Eye" that you can brag about!!


Products:


Thursday, January 2, 2014

New Years Eve Look

Hello bloggers :)

This is my first blog post so please give me your feedback in the comments!Let me know if you have any advice or ideas for posts that you would like to see! <3


Okay, let's get right to it. 

To get this look:

Face:
1. The first thing you are going to do is wash your face, apply a primer, and put on your favorite foundation (Mac Pro Longwear Foundation) from the forehead everywhere down to your chin. Also, use a concealer on spots if needed. 

2. Next, use an under-eye concealer to cover the dark circles under your eyes and make you look more alive and awake. I suggest using a beauty blender to even this area out (Nars Chantilly Concealer)
It's the circleeee of life. Haha get it? Lion King? No? Okay lol

There. That's better!

Eyes:
3. Apply an eye primer all over your lids, both top and bottom. I love the Urban Decay Shadow Primer Potion because it usually lasts all day and makes it easier to blend your eyeshadow!

4. Next, we are going to use these colors from the Urban Decay Naked 1 Palette, which I am totally in loveeee with! 
- Apply the color "Virgin" all over the top lid
- Add "Naked" to the crease only, focusing the majority of the color on the outer corner
- Create a crescent shape using "Buck" to add depth to the look (Optional)
- For a little bit of a glitter shade, add "Sidecar" to the center of the lid (Also Optional)

*Extra step: Highlight under your eyebrows and in the corner of your eye with "Strange" from the Naked 3 Palette


      <-- *NAKED 3 "Strange" as highlight*


5. Liquid Eyeliner (I used Smashbox Jet Set Liquid Eyeliner)
-Create a smooth line, starting from the inner corner getting thicker towards the outer corner, along the lashes
-Draw a wing and connect it to the line you just created
Hint: Hold the angled brush at the tip of your nose and draw a thin line from there. This will keep the angles even. 
-Go over it again to get rid of jagged edges
-Use a Q-tip dipped in makeup remover if necessary to clean it up


6. Lightly dust a coral powder blush (Mac Peaches) to the apples of your cheeks, and apply a fair amount of cheek highlighter (Too Faced Candlelight Glow) in a triangle shape above your blush on your cheek bone.


 7. Finally, curl your lashes & add your favorite mascara!


AND YOU'RE DONE!! yaayyyy!

 Easy right?! Here is the completed look:


I really hope you enjoyed this look!

Again, thank you for visiting my blog!
Please add your comments as well!